
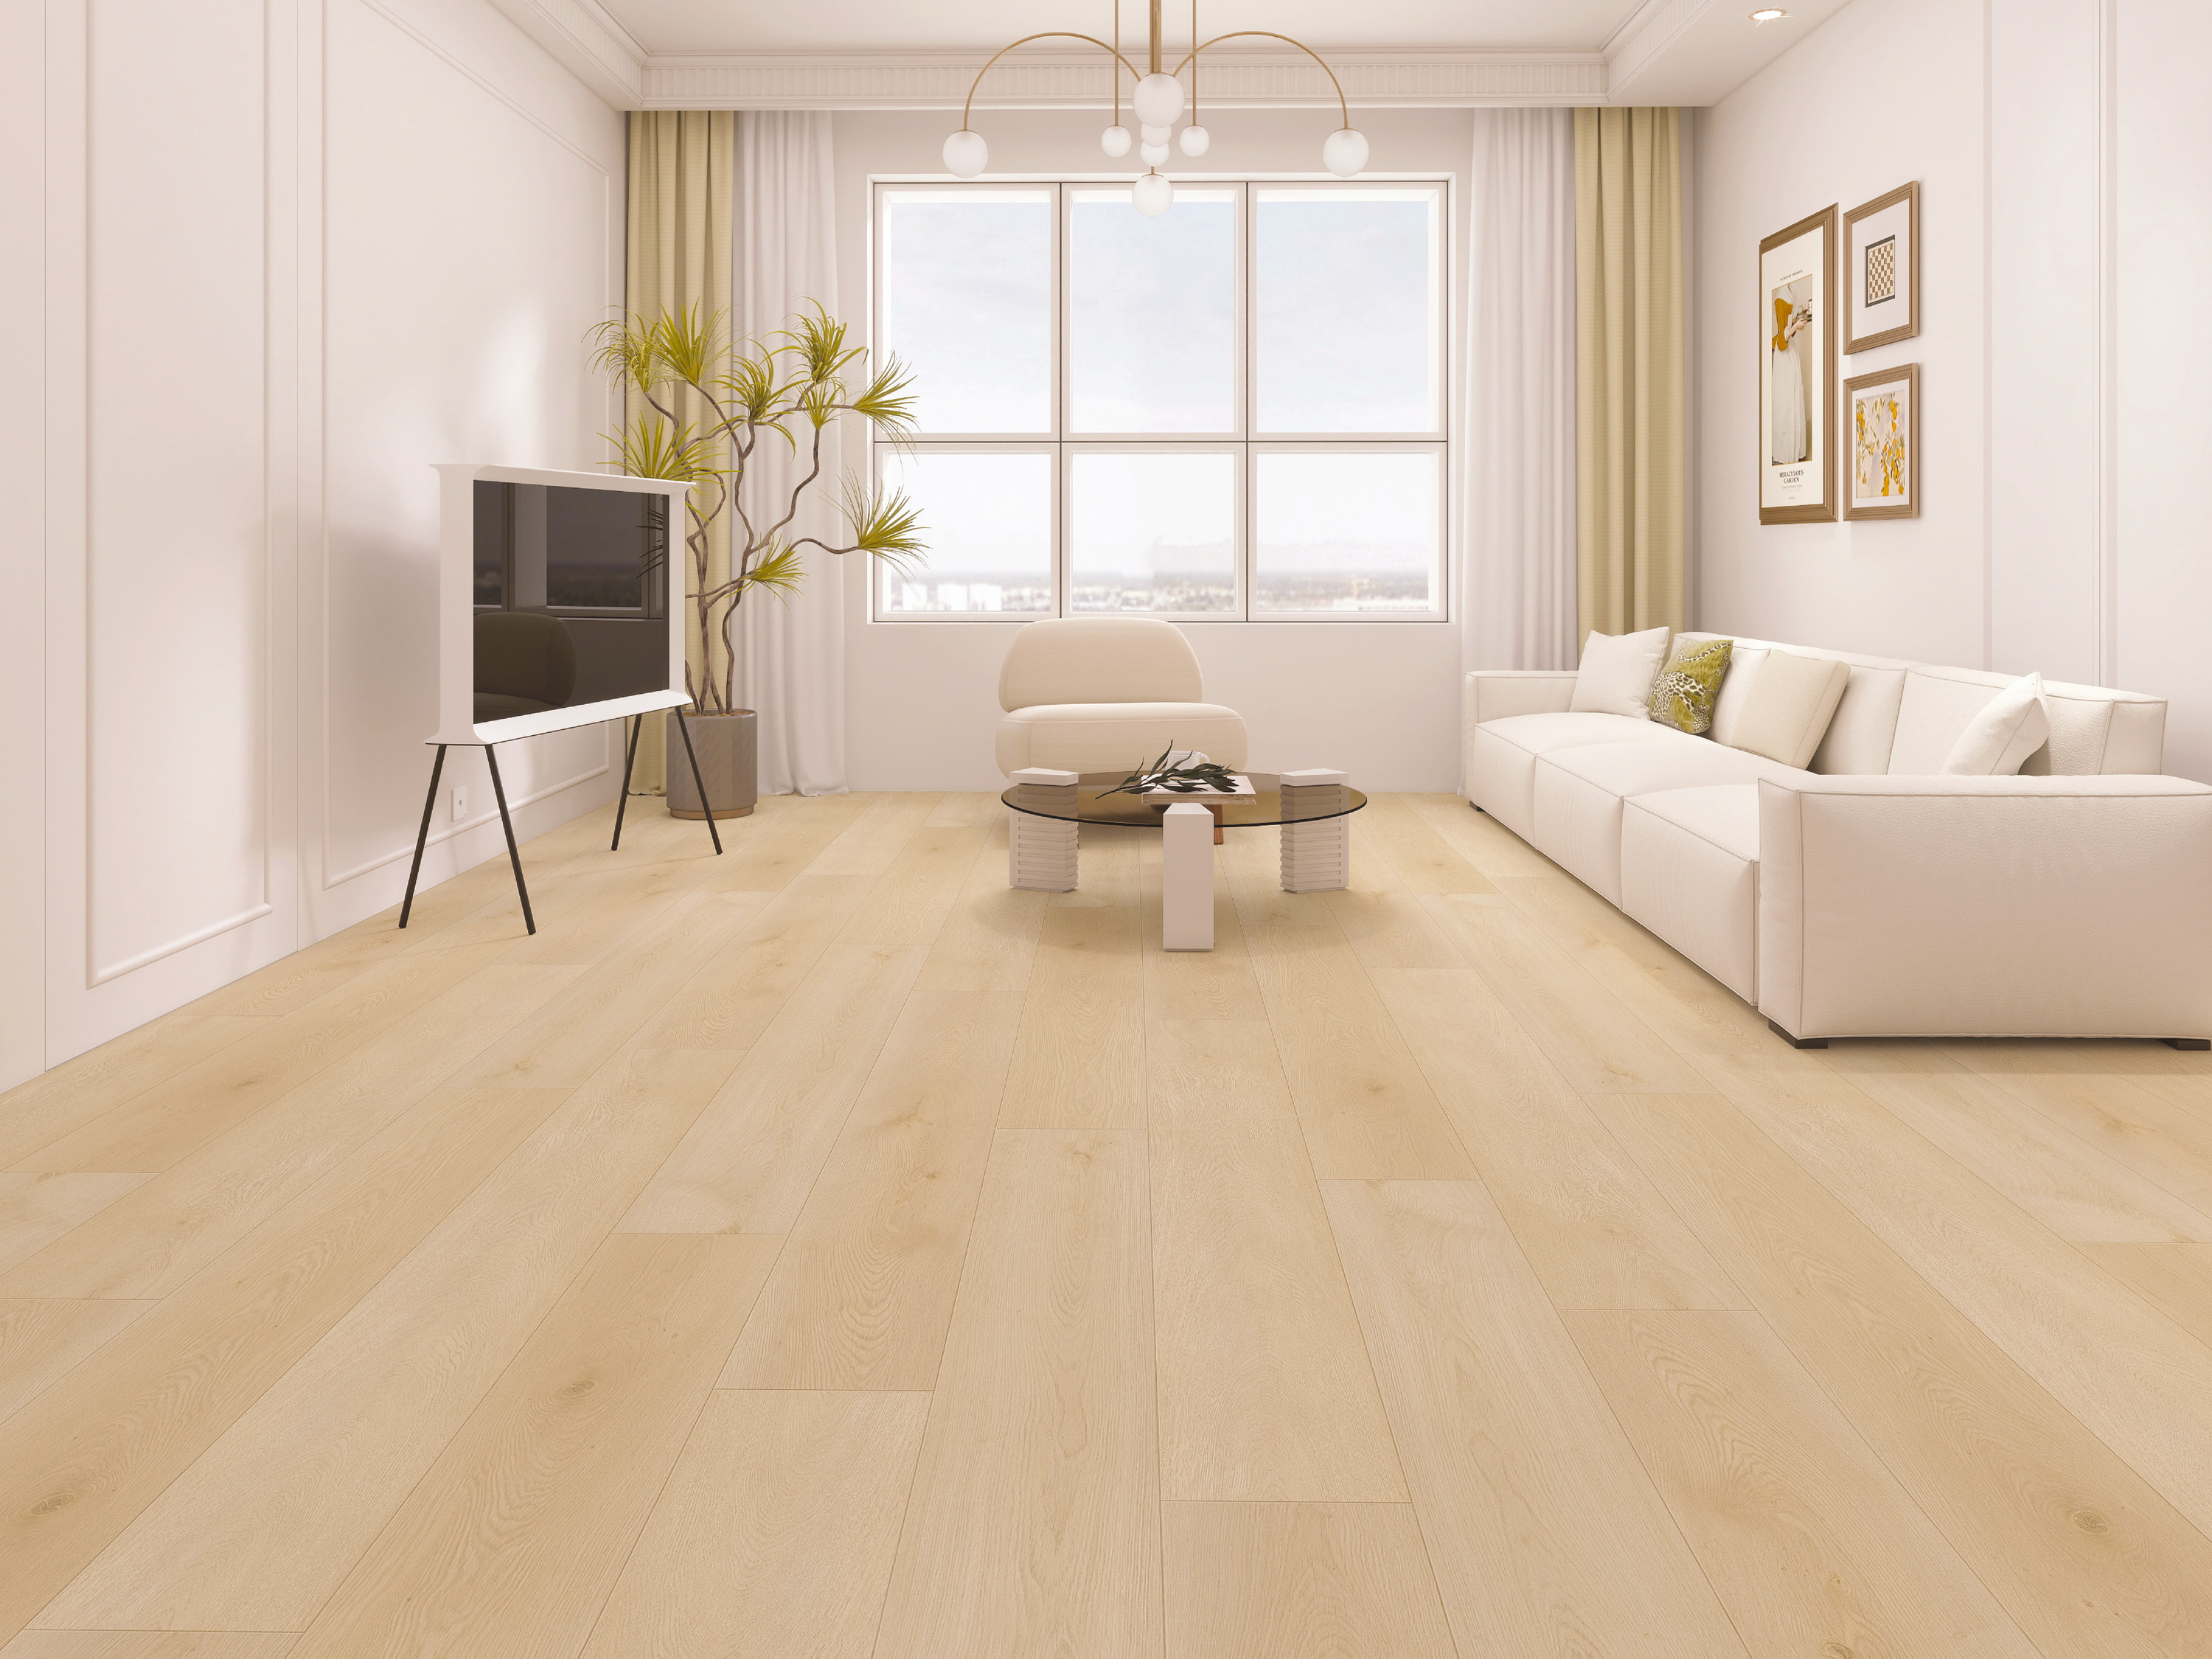
A practical guide for flooring professionals
Compare Dream Floor SPC flooring at a glance.
Use the comparison table as the current source for construction, dimensions, carton coverage, and colors. Then move directly to order planning, substrate acceptance, click-profile handling, and physical sample review.
For samples, quotes, availability, or technical review, identify the exact product name and DF code.
Open the Dream Floor 2026 catalogCatalog specifications at a glance
Compare the 6.5 mm and 8.0 mm total-thickness collections.
Use the exact product name and DF code when requesting samples, pricing, availability, or project review.
| Line | Collection colors | Total thickness | SPC core thickness | Attached underlayment | Wear layer | Plank size | Coverage per carton |
|---|---|---|---|---|---|---|---|
| 6.5 mm Collection | 2 colors: Driftwood Oak, Amber Oak | 6.5 mm | 5.0 mm | 1.5 mm IXPE | 22 mil | 60 × 9 in | 30.18 sq ft |
| 8.0 mm Collection | 10 colors: Golden Oak, Antique Oak, Ivory Oak, Sable Oak, Urban Oak, Latte Oak, Cream Oak, Mocha Oak, Rustic Oak, Pebble Oak | 8.0 mm | 6.5 mm | 1.5 mm IXPE | 22 mil | 60 × 9 in | 22.64 sq ft |
Attached IXPE supports moisture protection, sound reduction, and underfoot comfort.
Order-release checklist
Confirm the product, quantity, site, and layout.
A complete release starts with an exact order reference and accepted jobsite conditions.
Lock the name and DF code.
Match the product name, DF code, color, and quantity to the order before material is released.
Build from net area.
Apply the Dream Floor cutting and culling allowance, then use the table's carton coverage to calculate full-carton quantities.
Record the jobsite conditions.
Measure flatness and document the substrate, normal-use site conditions, and any project-specific moisture or alkalinity evaluation.
Resolve details before row one.
Apply the Dream Floor perimeter and transition requirements while planning rows, doorways, stairs, floor changes, and fixed objects.
Confirm order minimums, availability, lead time, and business pricing with your Dream Floor rep before release.
Click-profile handling
A joint that does not close is a stop signal.
Keep every click profile clean and inspect each plank before assembly.
If a seam remains open, separate the planks and check for debris, alignment, profile damage, and support. Never force the joint or strike an exposed edge.
Check row alignment, seam closure, and free floor movement throughout the installation—not only at final inspection.
Use the product name and DF code as the order reference. Provide net square footage, apply the Dream Floor cutting and culling allowance, and include transition, accessory, pickup, or carrier needs.
Use the carton coverage in the comparison table to calculate full-carton quantities. Confirm order minimums, availability, lead time, and business pricing before release.
Order planning
Build the order from the DF code and net area.
Dream Floor installation planning
Use Dream Floor requirements for jobsite planning.
Apply these values to Dream Floor SPC flooring and keep the product name and DF code with the project record.
| Planning field | Dream Floor guidance |
|---|---|
| Subfloor flatness | 3/16 in over 10 ft or 1/8 in over 6 ft |
| Interior conditions | 55–85°F · No acclimation required |
| Perimeter and transitions | 3/8 in perimeter space · T-molding at 40 ft |
| Order allowance | 5–15% cutting and culling allowance |
Subfloor acceptance
Accept the substrate before material release.
Measure flatness against the Dream Floor planning table. Verify that the substrate is structurally sound, stable, clean, dry, smooth, and suitable for resilient flooring.
For concrete slabs, document the project-selected test method, result, acceptance limit, and mitigation. Resolve active moisture, movement, deflection, damage, or an unaccepted surface before installation.
Release checklist
Close the open items before row one.
- Match the product name, DF code, color, and quantity to the order.
- Inspect cartons and planks, and set questionable material aside for review.
- Confirm stable normal-use site conditions and completion of wet or dusty work.
- Measure the room and plan the first and last rows before assembly begins.
- Coordinate doorways, transitions, stairs, floor changes, and fixed objects.
- Keep click profiles clean, never force a joint, and mix planks from multiple cartons.
- Inspect the work regularly and retain product labels and project records.
Appearance review
Build a useful sample set.
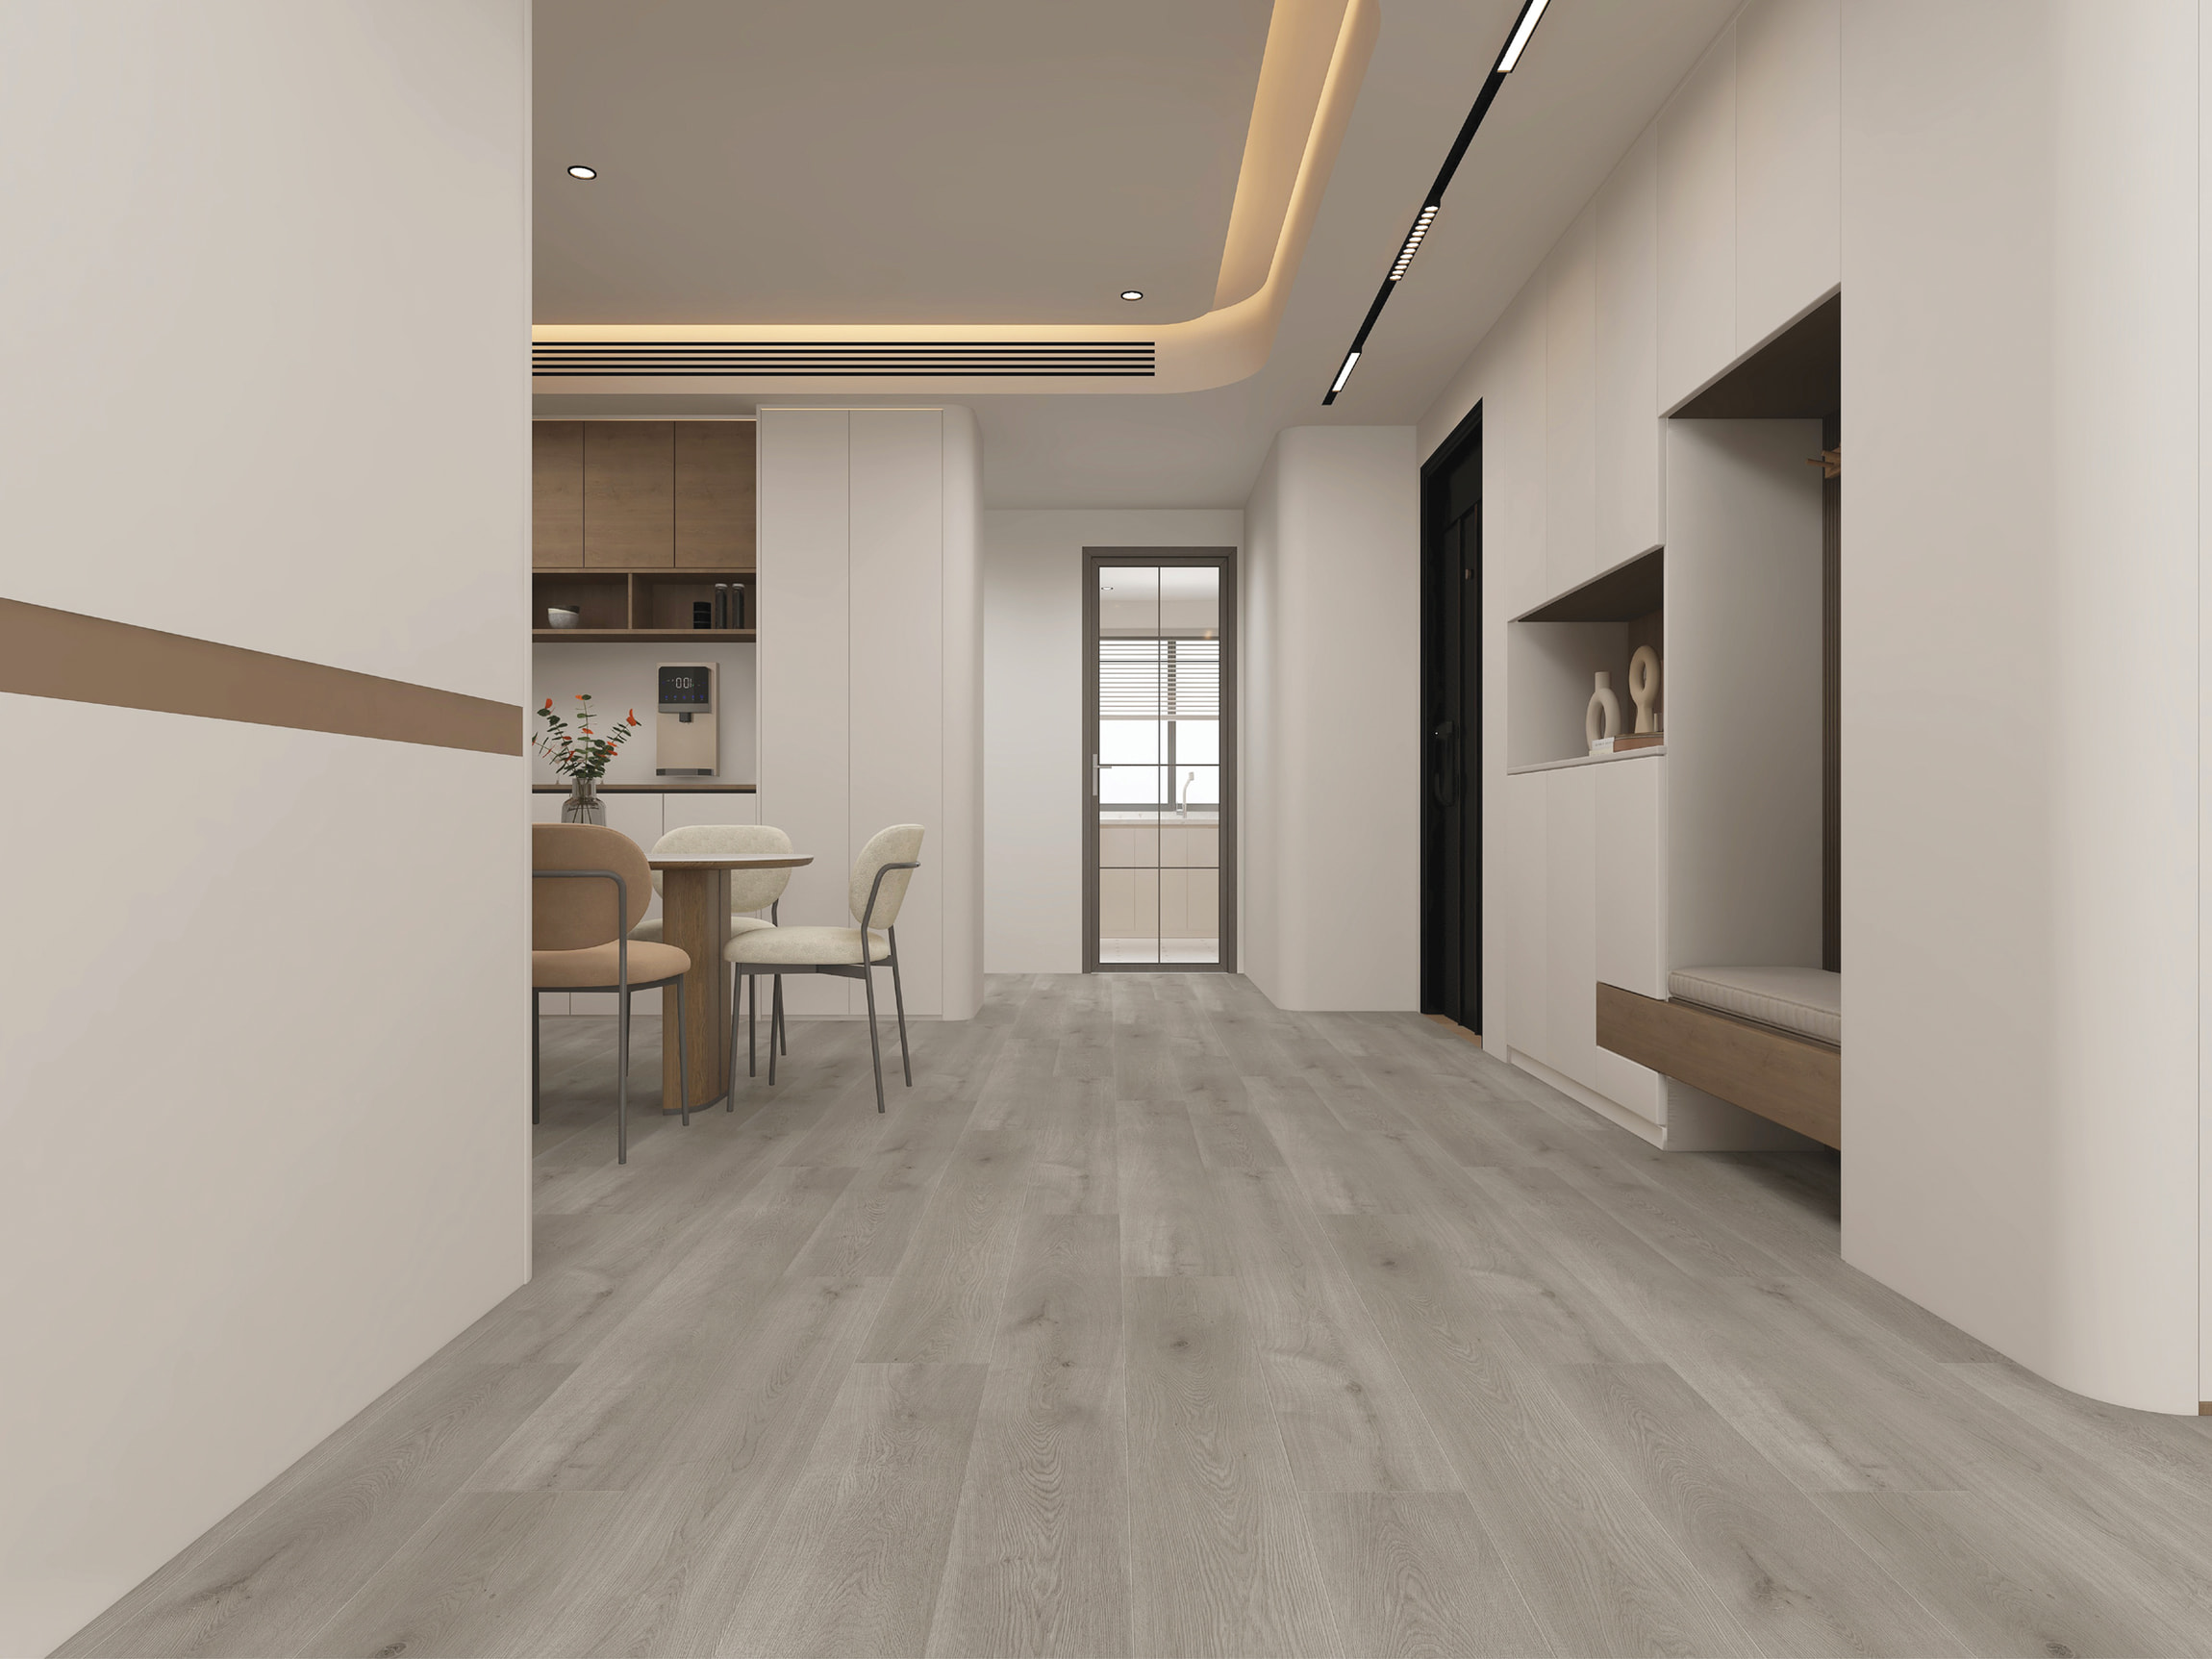
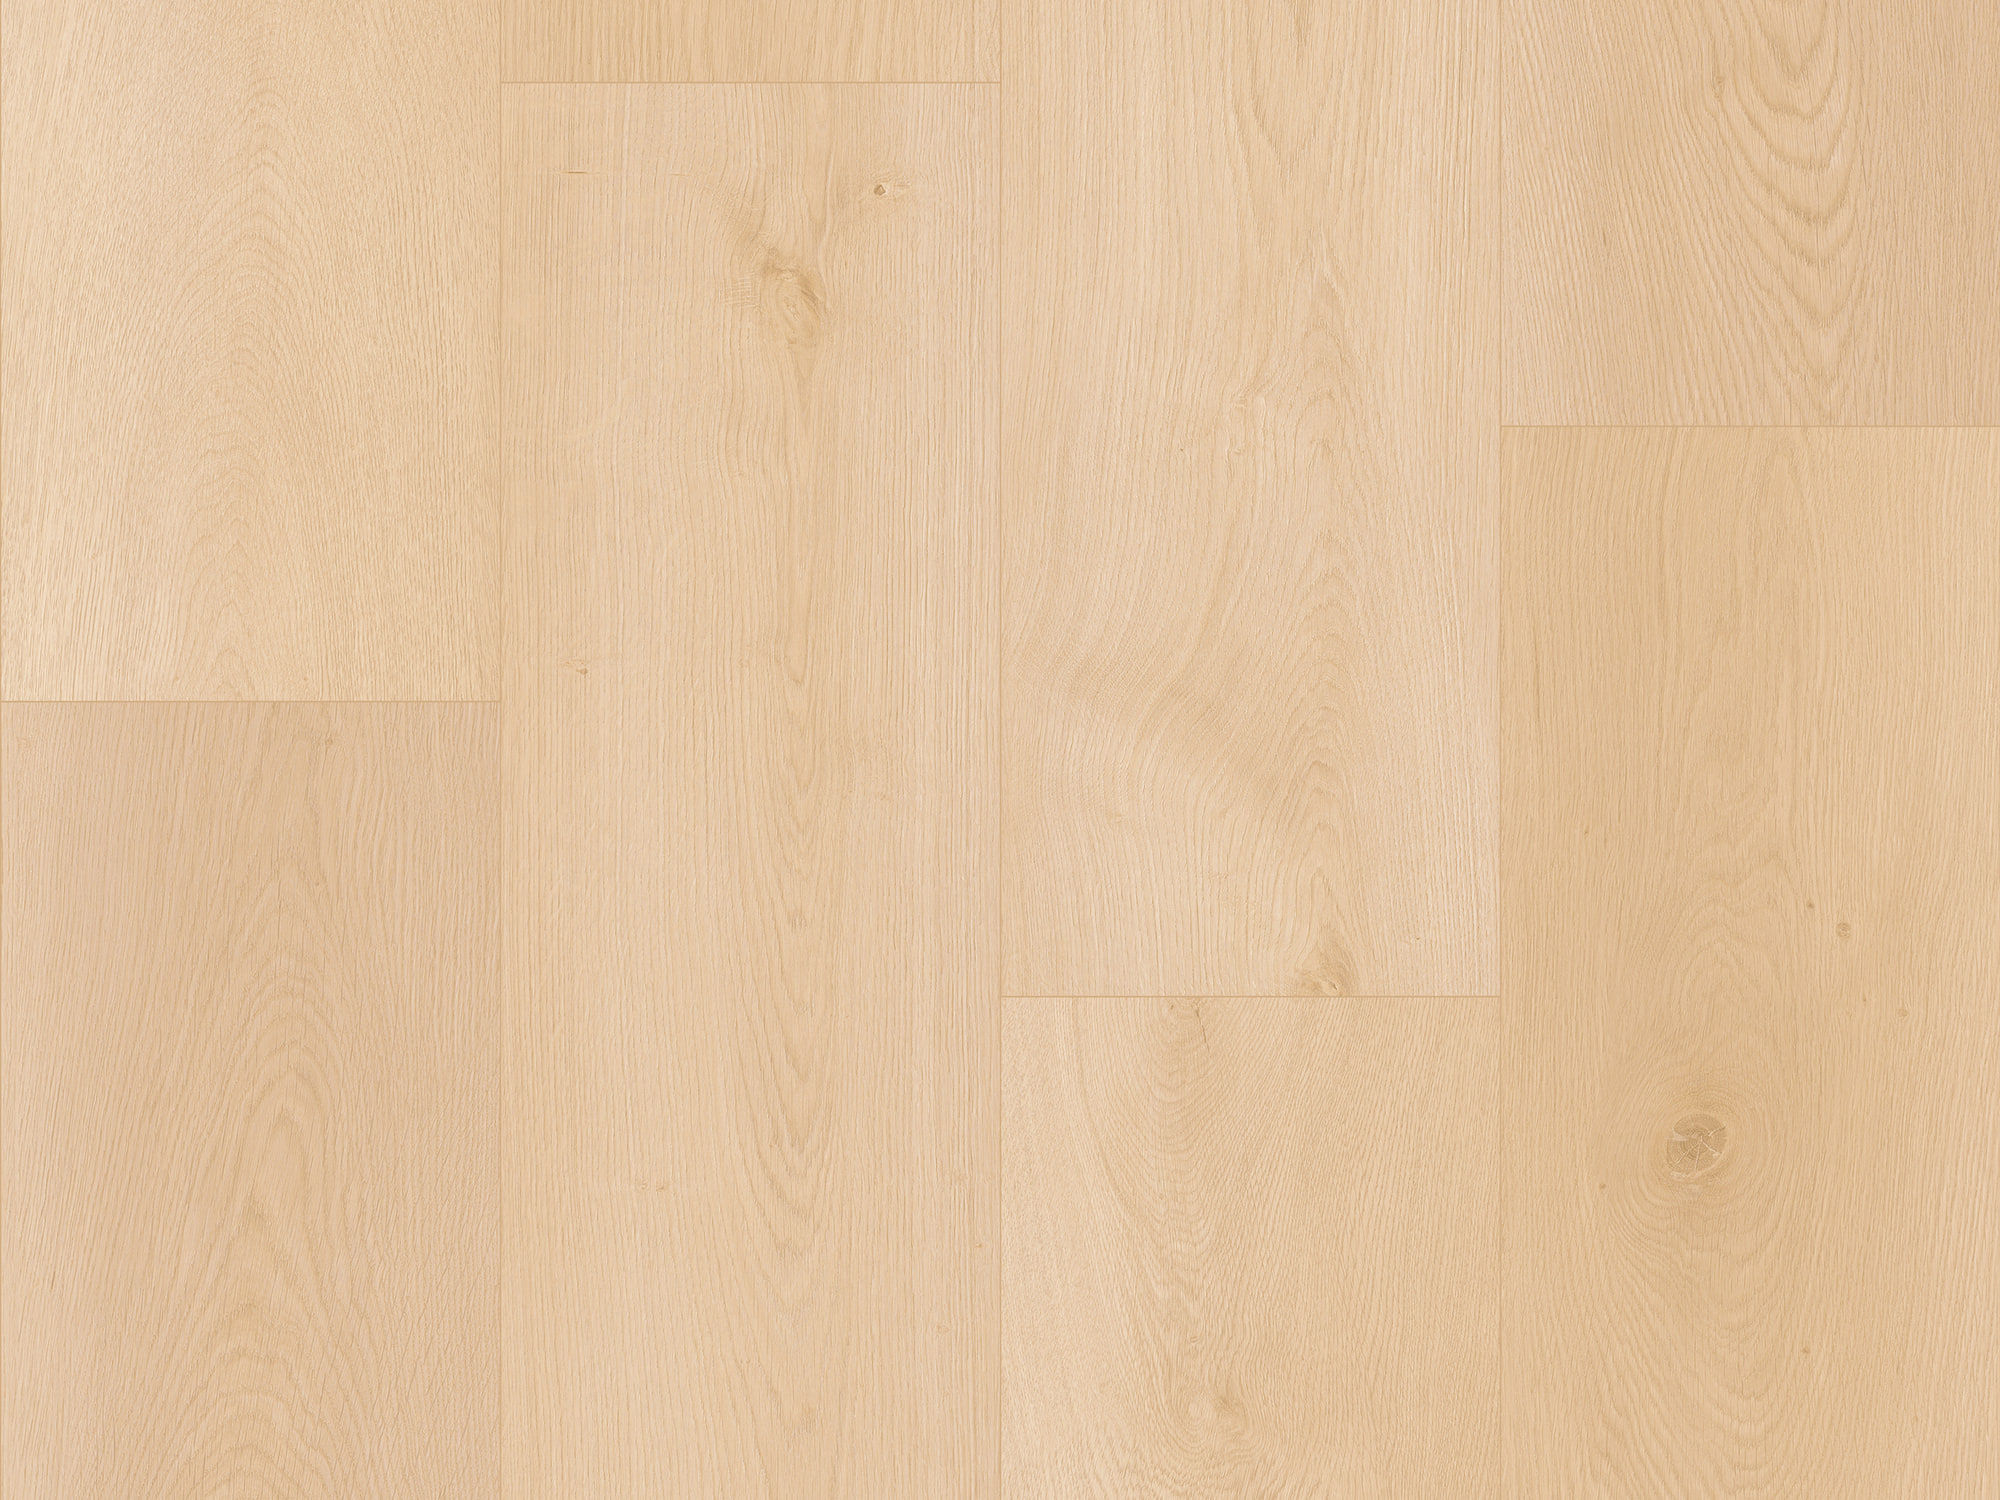
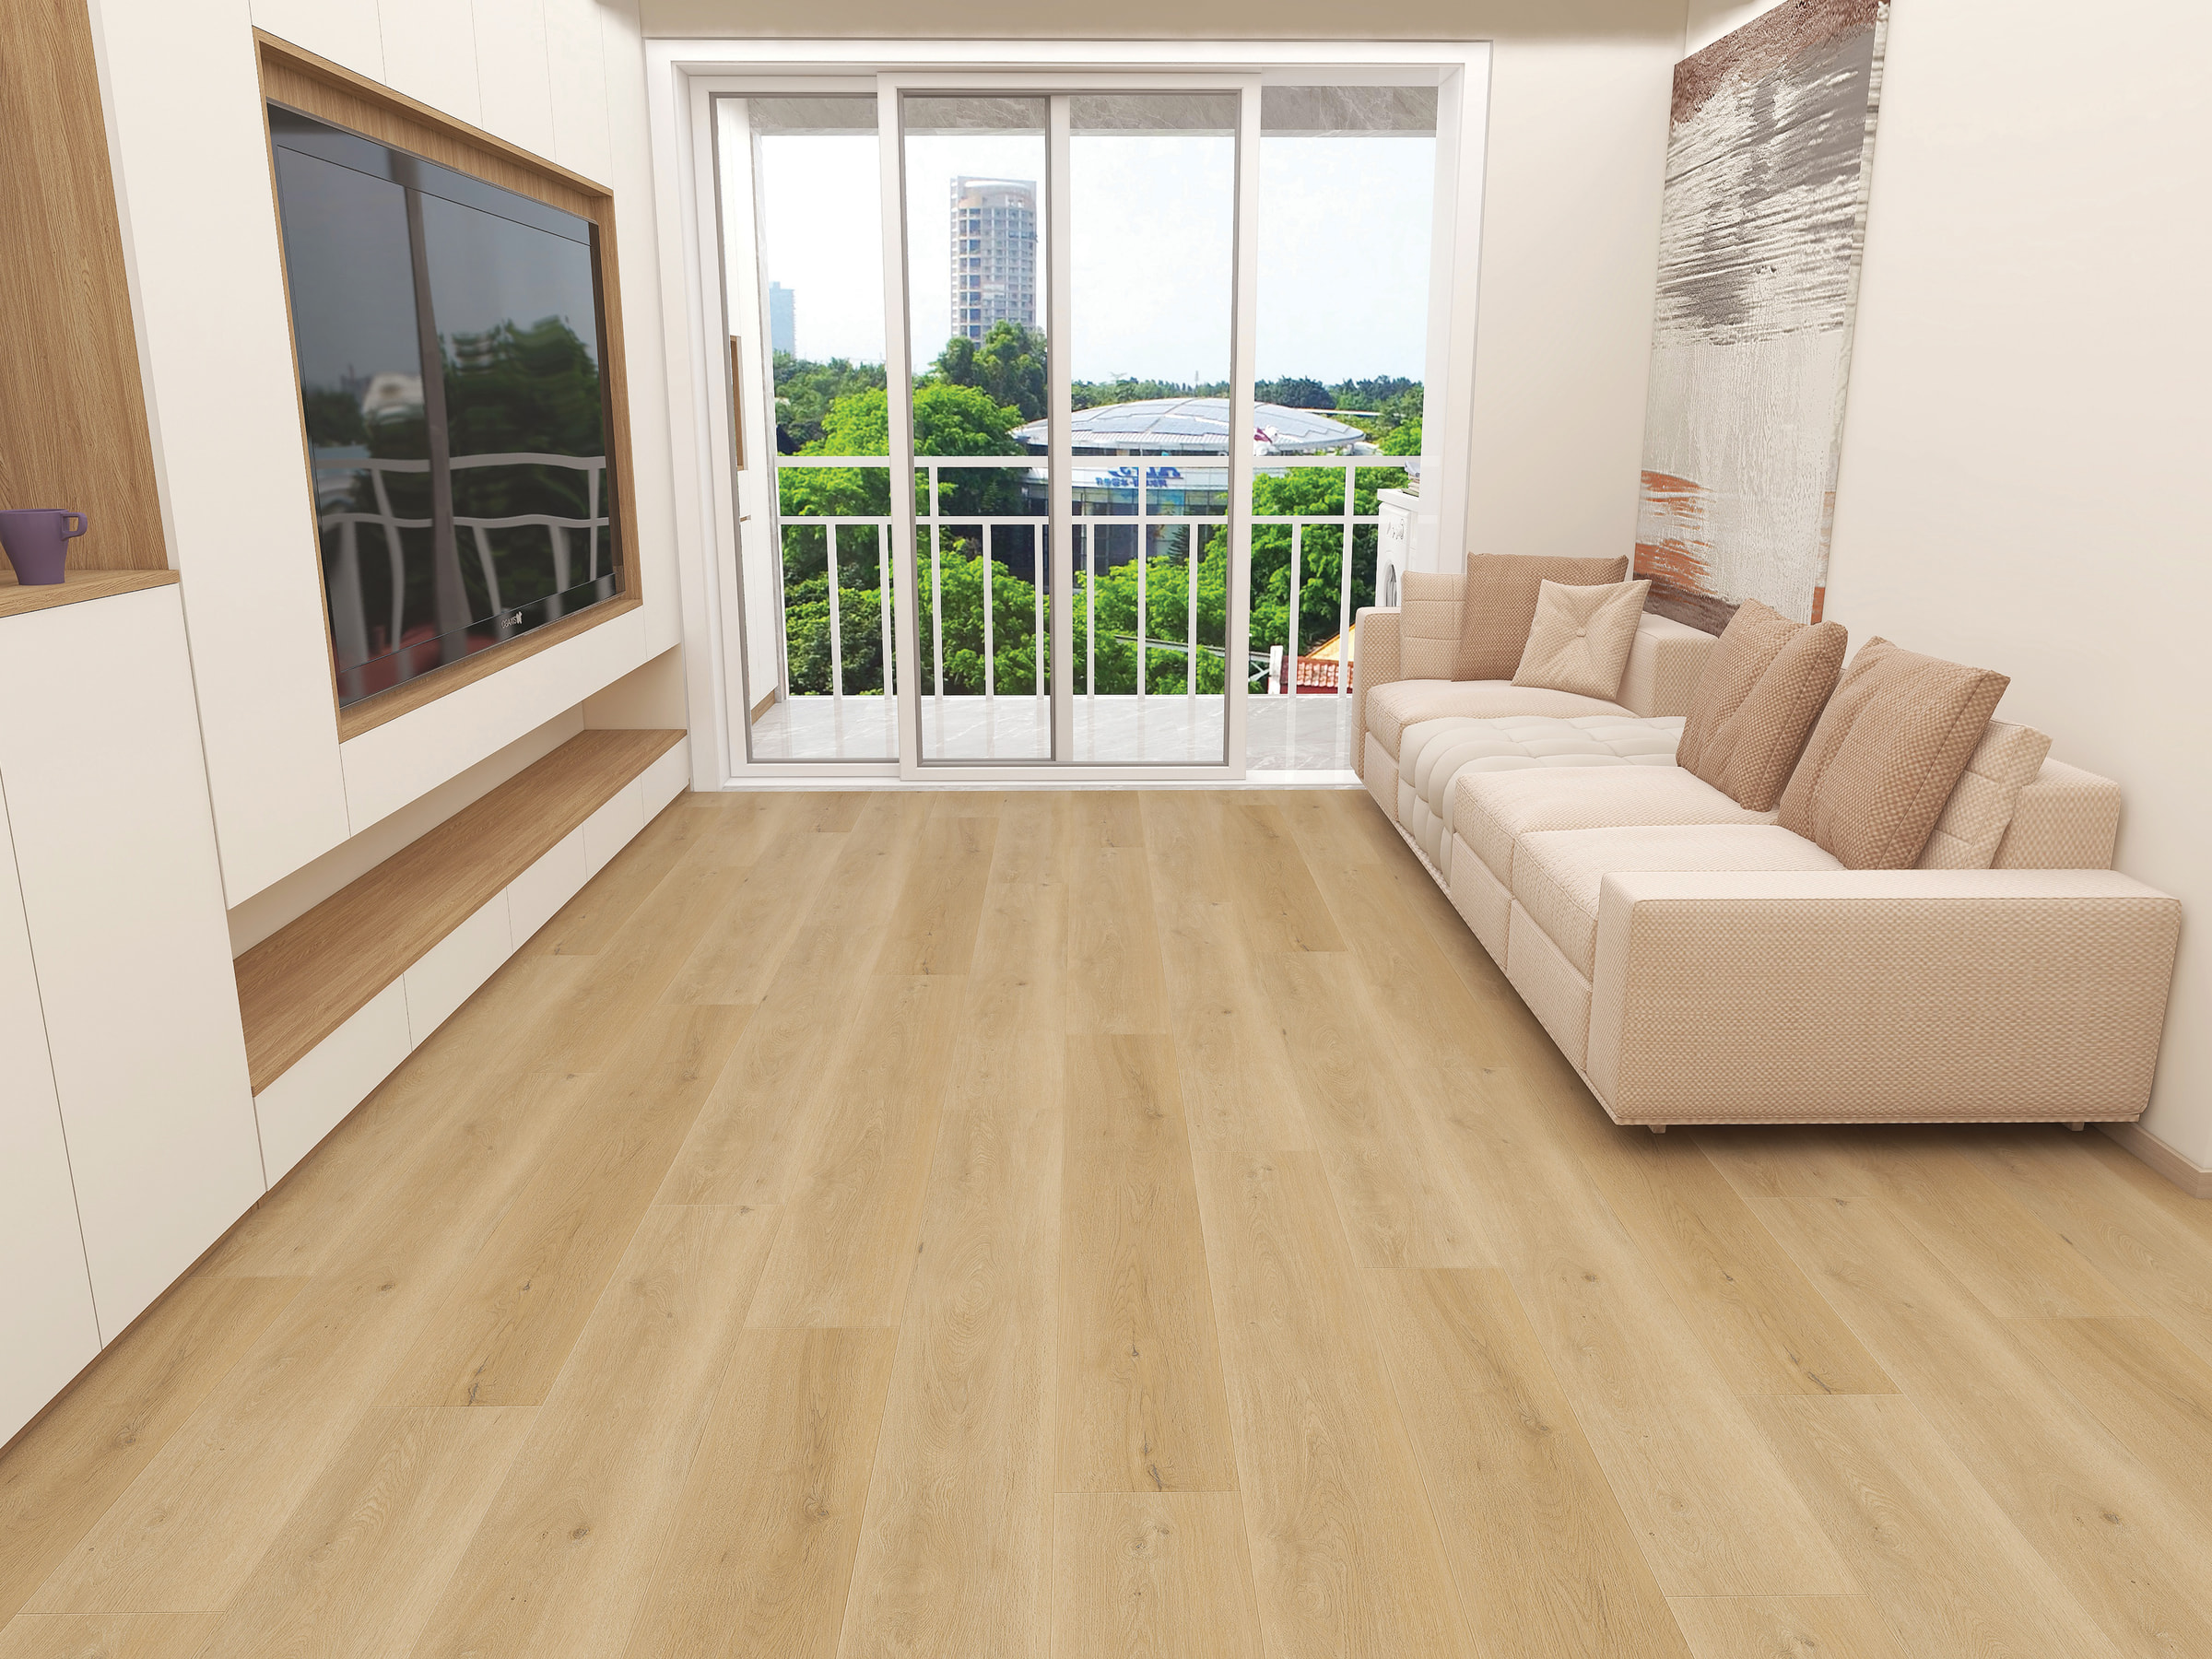
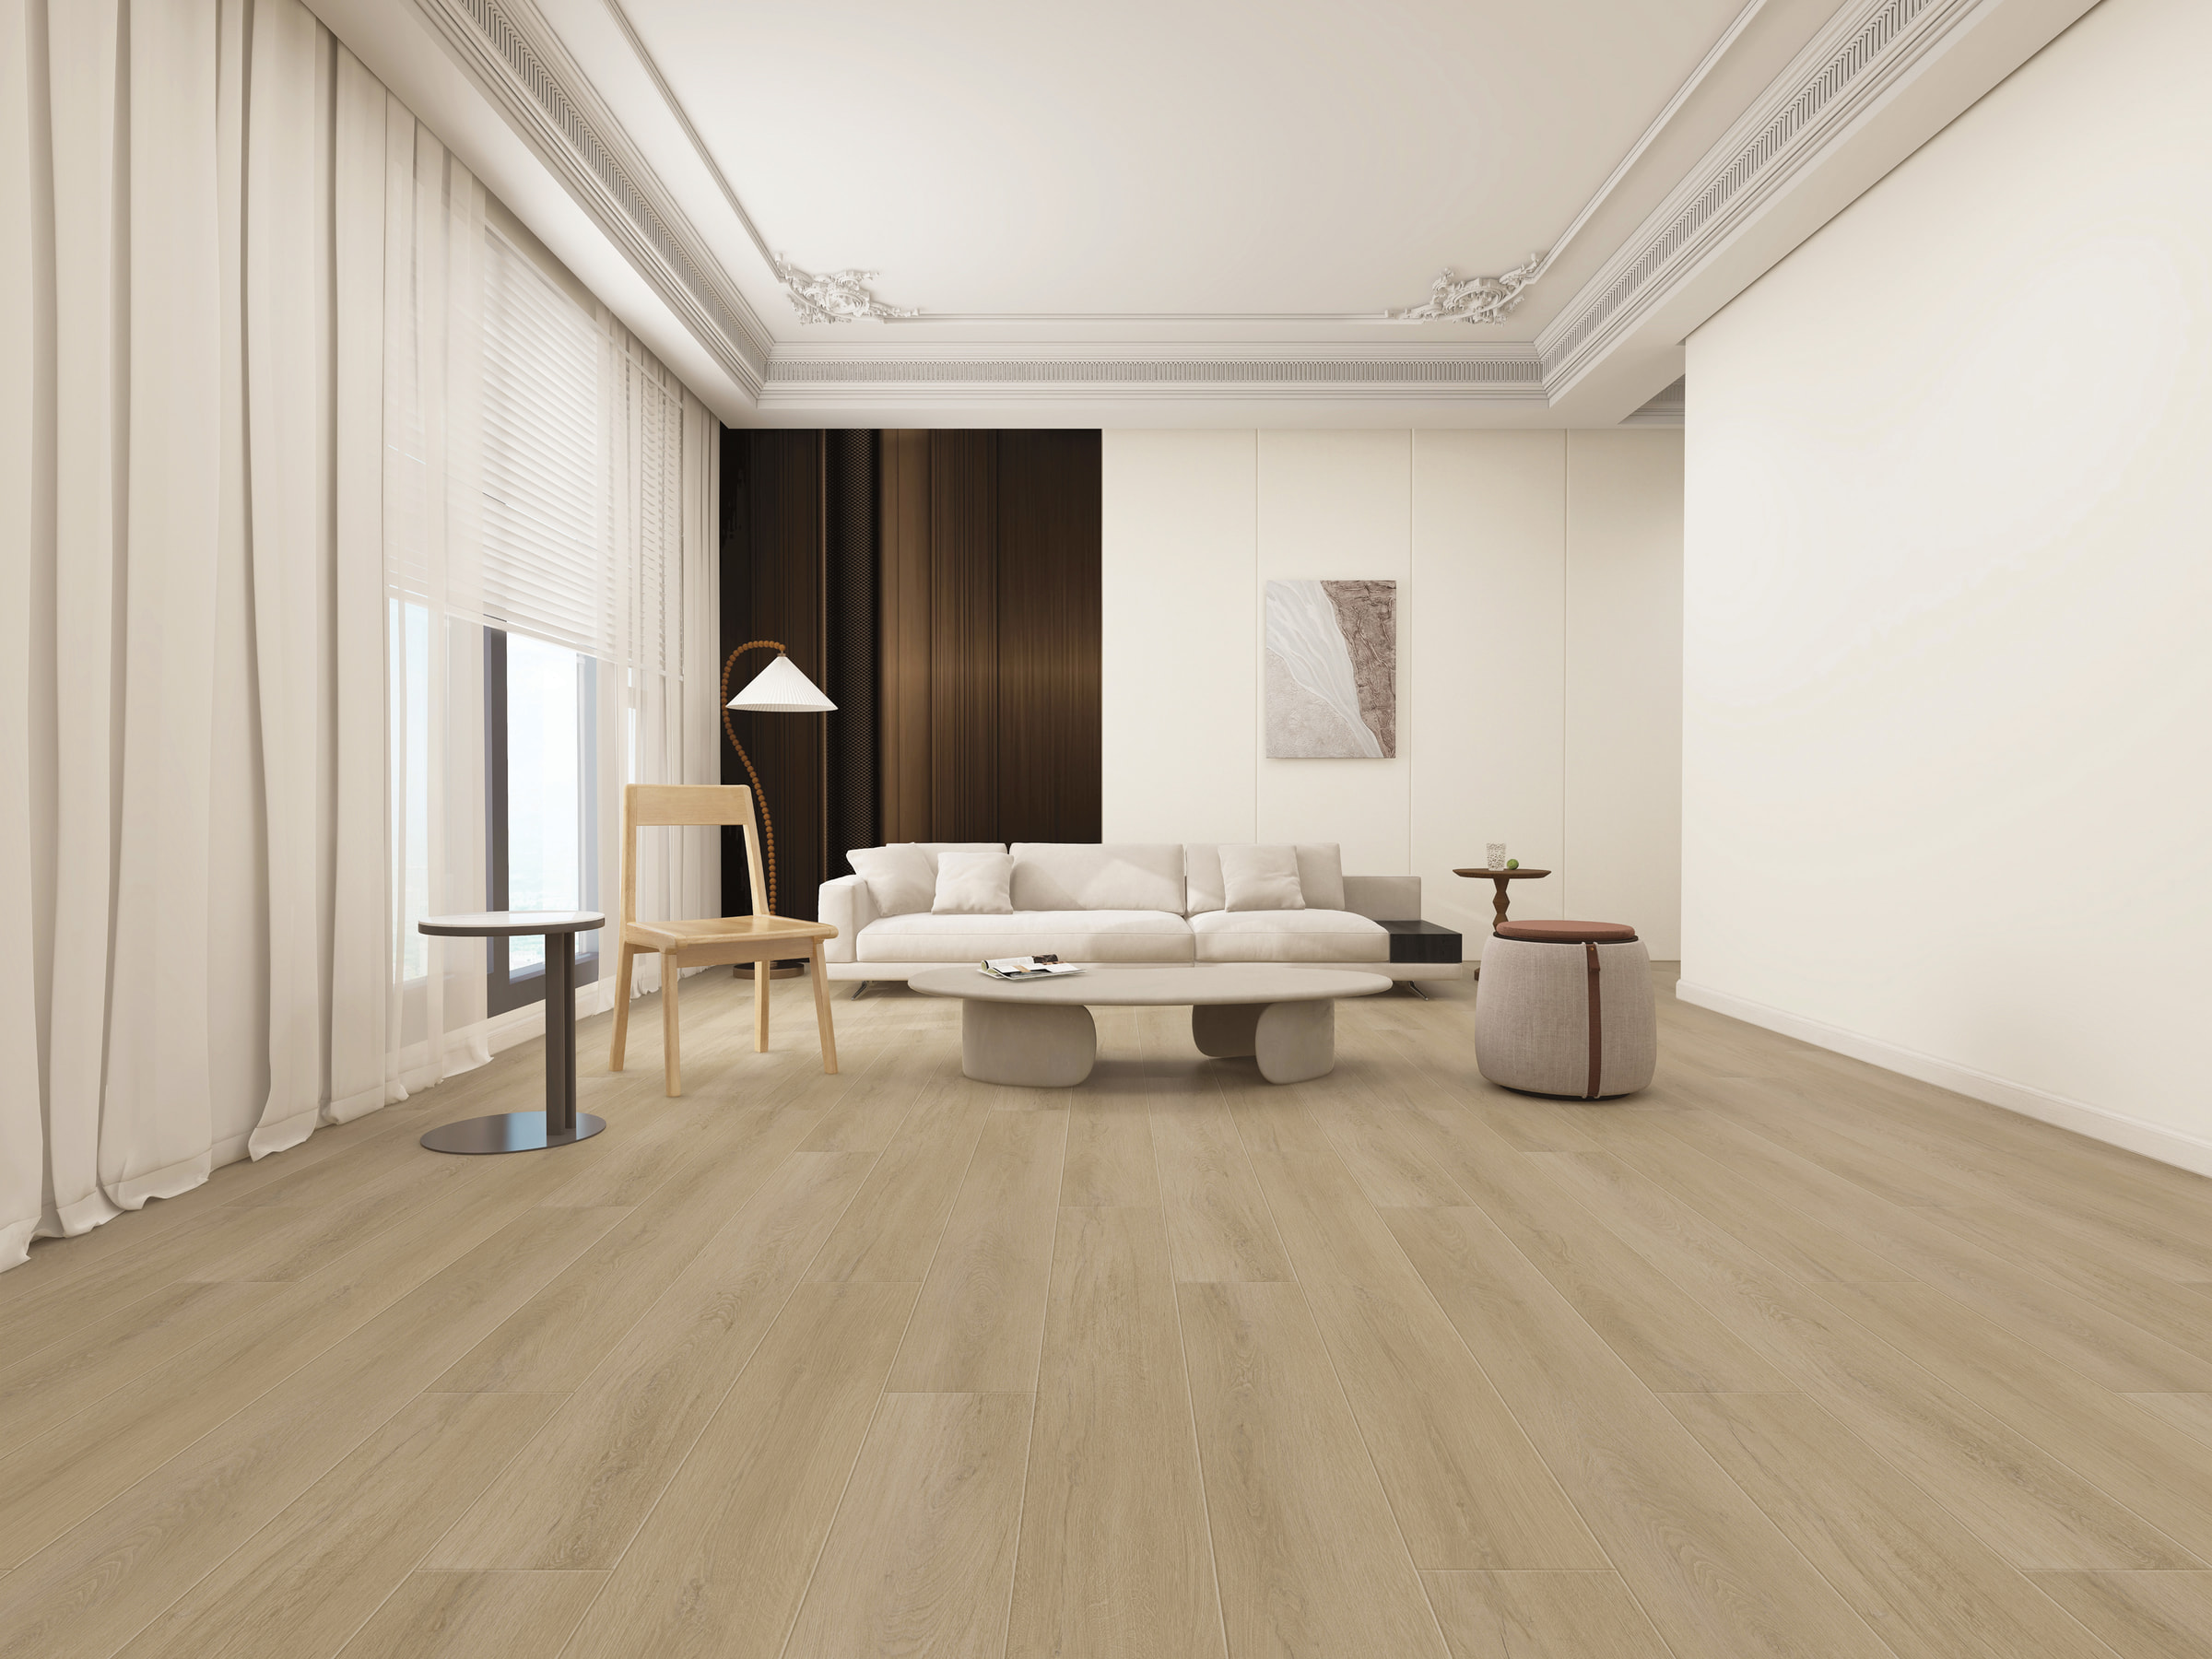
Shortlist colors with the room scenes and swatches, then compare physical samples with the materials and lighting that will be present in the finished space.
- Choose by exact name and DF code.Start with two to four options that represent meaningfully different undertones or contrast.
- Bring the project palette together.Place samples beside cabinetry, paint, stone, tile, metals, and existing wood finishes.
- Review the actual lighting.Check daylight and evening artificial light in the room where the floor will be used.
- Account for natural visual variation.Use room imagery for wider context and plan to blend material from multiple cartons.
Project preparation
Review installation, care, and warranty terms before the job starts.
Use the SPC Installation Guide for product, jobsite, and subfloor preparation. Use the Care & Maintenance Guide for routine cleaning and floor protection.
Before purchase, read the official Napa Surfaces warranty. The current version provides 7-year residential or 3-year defined light-commercial coverage, affected-area material remedies, and no voluntary labor coverage. The exact PDF controls eligibility, exclusions, claims, and legally required remedies.
For project review, send the DF code, substrate type, test results, site conditions, relevant photos, and the question to resolve.
Project questions
Common questions from flooring professionals.
Concise answers based on the Dream Floor 2026 catalog and installation guidance.
What should accompany a technical question?
Send the product name and DF code, project location, substrate type, moisture and alkalinity test results, site conditions, relevant photos, requested quantity, and the answer you need.
What should I do when a click joint will not close?
Stop. Separate the planks, clear the profiles, and check alignment, profile condition, and support. Do not force the joint or strike an exposed edge.
Which site data belongs in the installation record?
Record measured flatness, site temperature, concrete moisture or alkalinity results when applicable, mitigation, and planned expansion and transition locations. Use the Dream Floor planning table and document the project-selected concrete moisture criteria.
How should cartons be opened and blended?
Inspect cartons and planks before assembly, isolate questionable material, and blend planks from multiple cartons across the work area.
What belongs in the project handoff?
Retain product labels, DF codes, carton quantities, substrate test records, approved mitigation, layout decisions, installation photos, current care guidance, and the official warranty that applied at purchase.
Should the final color be selected from a screen?
Use online images to narrow the options, then review a physical sample beside the project's actual materials and under its daylight and evening lighting.
Next steps for flooring professionals
Ready to compare samples or talk with a rep?
Choose your samples and confirm project details in three simple steps.